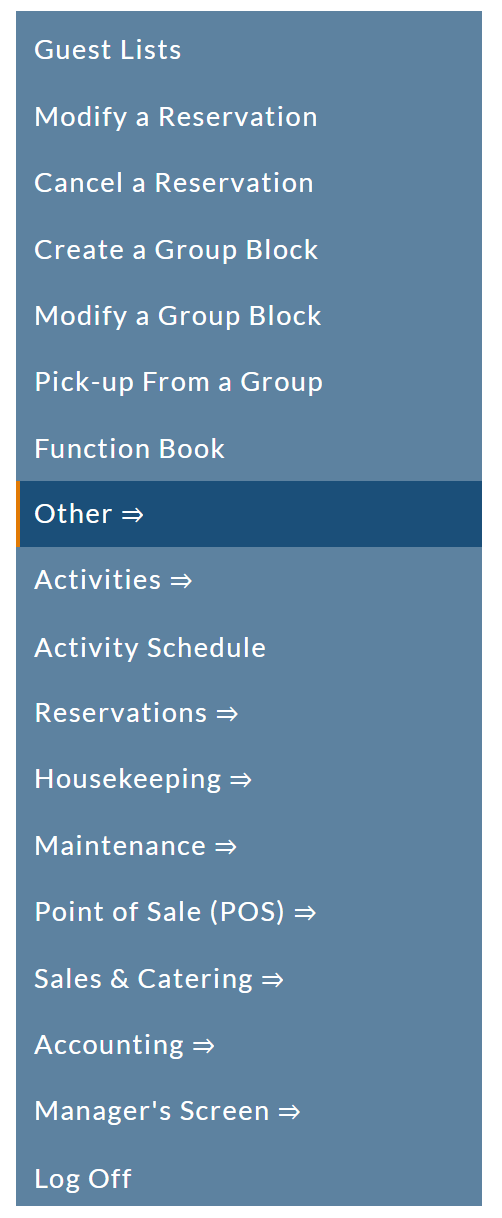
Depending on your Skyware Systems set-up, you may or may not have a quick menu option for the Other Front Desk Tasks Menu area. If you can, select Other => from the Quick Menu on the left side of the screen.
OR
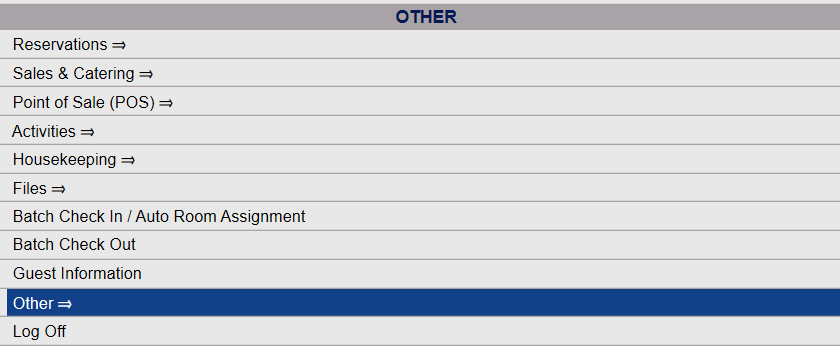
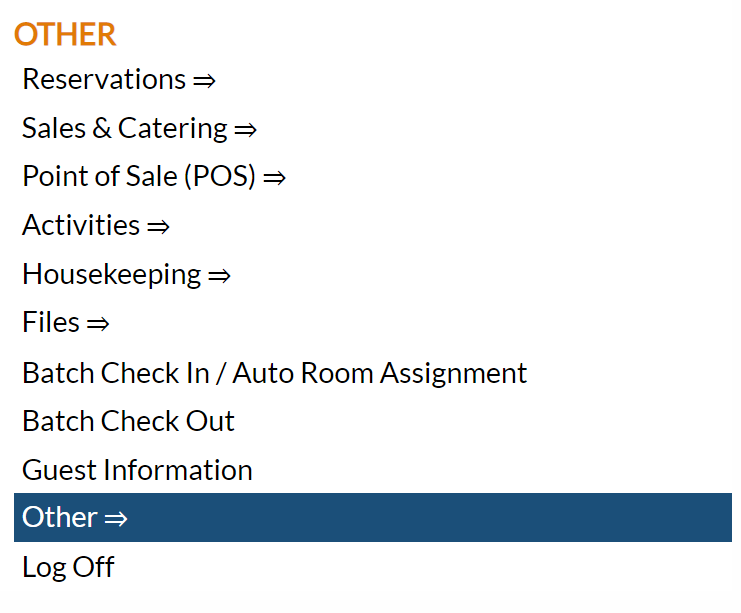
Select Other => from the Other section (bottom right) of the Full Menu.
Click the icon on the left for the Full menu.
This will display the Full menu in a tabular form, with four sections, Registration, Status, Cashier and Other.
From the Other Section, select Other =>.
This will display the Other Front Desk Tasks Menu.
The Other Front Desk Tasks menu has 4 sections, Other List 1, Documents, Other List 2 and Web.
Select the Activity Documents command from the Documents section.
When selected the Activity Documents screen will open.
The Activity Document screen display is split into two frames, with the left side of the screen listing the custom email messages already generated and the right side containing the fields you need to complete in order to add or edit the custom message for the Property. Any changes made on the right, once saved, will be updated in the listings to the left.
Note: To edit the BODY of the email message you must first click the gray "Open this Document" button, to open the Document Editor for Activity Documents.
The currently configured options are displayed by:
Order: The order the activity email messages are arranged by.
Description: The name or description of the activity email message.
Your options include the following:
Generate a new entry:
Click the New ![]() button from the toolbar to add a new custom activity email message entry. Complete the fields described below.
button from the toolbar to add a new custom activity email message entry. Complete the fields described below.
OR:
Select an existing custom activity email message entry from the list on the left, and click the Replicate ![]() button from the toolbar. Then change the field information as described below.
button from the toolbar. Then change the field information as described below.
Edit the current selection:
Change the field information.
Note: These fields are the same for any type of document you wish to customize, from any of the selections in the Documents sub-section of the Other Front Desk Tasks menu.
List Order: This determines in what order the custom activity email message entry appears listed in the interface.
Enter a number into the List Order field.
This field is optional, however it we recommend that you list the custom activity email messages in the order you prefer. This makes it easier for staff to find the custom activity email message entry they need quickly.
Description: This is the name or description of the custom activity email message.
This field is required.
Created On: This date field is read only and automatically generated when the message is first created.
By: The User whom created this message (logged in when this message was created).
Updated On: This date field is read only and automatically generated whenever the message is updated.
By: The User whom last edited/updated this message.
Header tag Addition: Custom code to add to the header tag of a web page. (For use with programming the overall defaults on a web page, if this document will be used with the web page). This field is customizable by Skyware Systems at your request.
Once a message entry has been saved into Skyware, to add or edit the information IN the message you must click the gray button "Open this Document" .
This will open the Document Editor for the Activity Document.
Note: This button is unavailable (grayed out) until the document has been generated in Skyware. To move on to using the Document Editor the document must first be saved. Once saved, this activity document will join the list of available options for selection for your confirmation, reminder, cancellation, and check-out emails via the Schedule Types screen. You must make sure that you have generated the body of the message using the document editor before selecting it for use.
The Document Editor displays either a blank document if new, or the details of the document so far configured.
As can be seen in the example, you have a lot of customizable options available for generating the document to be used as the email message. The custom tool bars contain multiple editing options, including the usual editing set such as bold, underline, italics. You have multiple ways of inputting information, including direct typing and adding tokens selected from the drop-down menu. It is suggested that you keep your documents in the simplest form possible. It is possible to add headers and footers to this message, and to add images if desired. Please see our Help Topic How To Create or Customize Your Documents for specific details on using the Document editor screen to generate the message that you want.
The orange "<< Cancel" button will return you to the previous screen, in case you have opened a document you did not intend.
The orange "Save Document >>" button will save the document you are working on. It is recommended that you save fairly often, as the Document Editor does NOT have an automatic save function. HOWEVER, whenever you click this button, it will save the document AND return you to the Activity Document screen. If you wish to continue editing the body of the email further, simply click on the "Open this Document" button there once more to return to the Editor.


